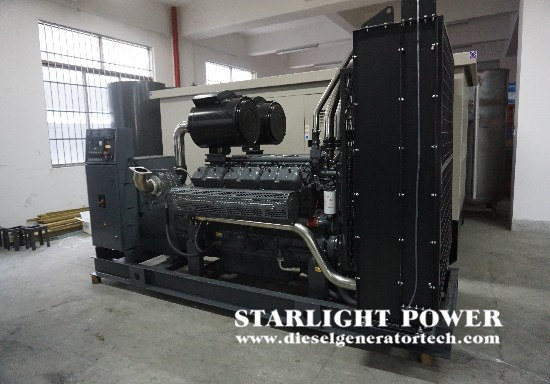
How to dismantle the exhaust turbocharger of diesel generator? Before disassembly, the mutual positions of the compressor casing, the middle casing and the bladeless volute should be marked so that they can be reinstalled in their original positions during installation. The disassembly process is as follows. Loosen the seals on the compressor casing, the vaneless volute and the intermediate casing, and remove the two casings. If the two objects are closely aligned with the shell in the middle, you can gently tap the shell with a rubber or mallet. When disassembling the housing, be careful not to tilt the housing toward the axis. Avoid collisions with the tops of compressor and turbine blades or the corresponding inner surfaces of the fleece shell. Fix the turbine rotor shaft and the hexagonal boss of the impeller outlet on the worktable pair, identify or make the dynamic balance mark of the self-locking nut, the turbine rotor shaft and the compressor impeller.

Otherwise, the intermediate casing with the rotor can be removed from the auxiliary tank, and the impeller part of the compressor can be immersed in the pot with boiling water. After a while, the impeller can be smoothly removed from the rotor shaft. After the compressor wheel is removed, hold the turbine wheel, and the diesel generator turbine rotor shaft with the intermediate casing is removed from the table in the vise. On the end face of the compressor end of the threaded center hole, the rotor shaft of the turbine is smoothed, and the turbine rotor shaft is removed by hand. The rotor shaft should be taken out carefully, and the rotor shaft of the screw must not touch the bearing hole and the surface of the float. Use round nose pliers to remove the circlip of the compressor end hole of the middle cylinder, remove the compressor end air seal plate with two screwdrivers, and take out the compressor end oil baffle, thrust plate and spacer ring from the middle cylinder. Then press out the shaft seal from the air seal plate at the compressor end, then put two thin iron wire rings on your fingers, and take out the two elastic seal rings on the shaft seal.
Press the edge of the lock plate on the thrust bearing, unscrew the four hexagonal bolts with flat screws, and then remove the thrust bearing and the other thrust plate. Use an end clamp to remove the spring snap ring from the bearing hole at the end of the compressor, remove the thrust ring and the floating bearing from the bearing hole, and then remove the other end of the floating bearing from the bearing hole in the direction of the compressor end. Spring snap ring. However, care must be taken not to wear the spring snap ring to the surface of the bearing hole. Use pliers to remove the snap ring of the intermediate shell in the bearing hole of the turbine end, and then take out the floating bearing thrust ring. Reorient it at the other end of the movable bearing snap ring with pointed pliers and set it on the turbine end, but take special care not to scratch the surface of the bearing hole and remove the two snap rings of the elastic seal ring.
As a professional diesel generator manufacturer, we always insist on using first-class talents to build a first-class enterprise, create first-class products, create first-class services, and strive to build a first-class domestic enterprise. If you would like to get more information welcome to contact us via [email protected].
Copyright © Guangxi Dingbo Generator Set Manufacturing Co., Ltd. All Rights Reserved | Sitemap
Update cookies preferences